Functionality of the TinyMCE Text Editor

By default, Moodle uses the TinyMCE text editor for writing text. The editor functions similarly to Word or LibreOffice and offers a variety of options for formatting text.

Writing Text on Moodle

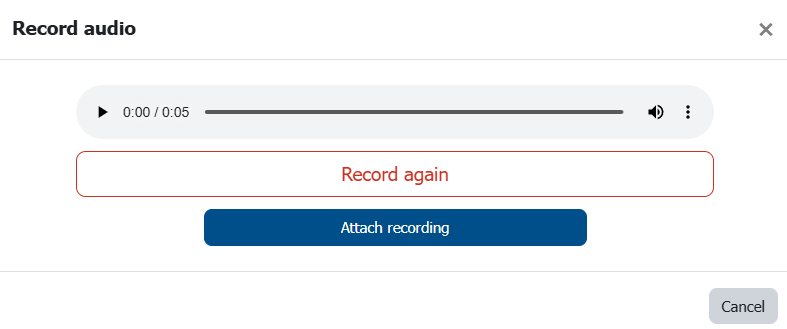
The TinyMCE text editor is available for composing text in Moodle. It includes a toolbar to format text, insert images, or embed links. Additionally, you can record and upload audio and video directly within the editor.

Here's a brief overview of the toolbar's functions:

Collapsed Toolbar of the TinyMCE-Text-Editor

In its default view, the toolbar already includes most functions for text formatting, text structure modification, link embedding, or multimedia uploading.

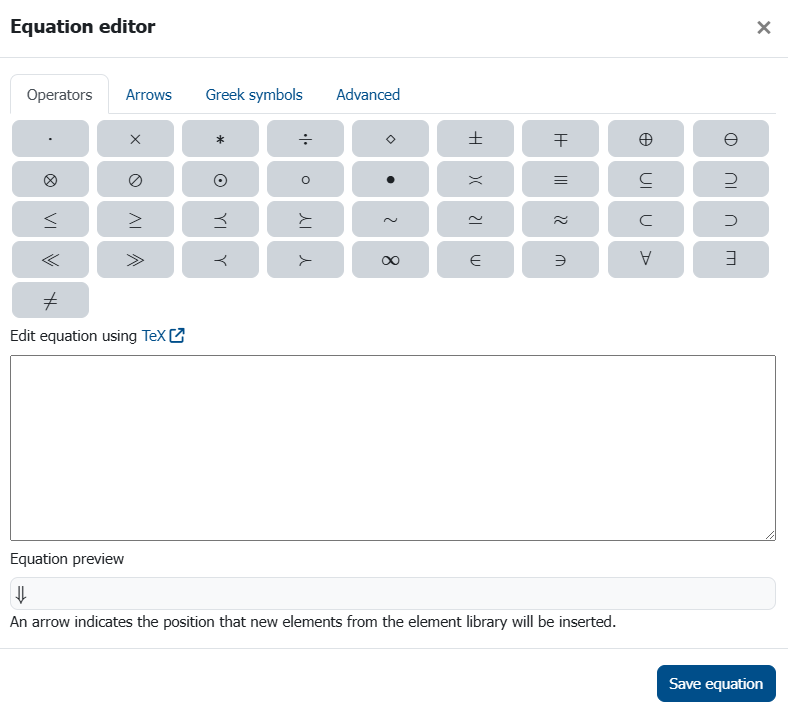
Nevertheless, clicking on the three dots (Reveal or hide additional toolbar items) reveals additional options, such as indentation, bullet listsor the equation editor.

Expanded Toolbar of the TinyMCE-Text-Editor

Above the toolbar, you’ll find several tabs with extra features.

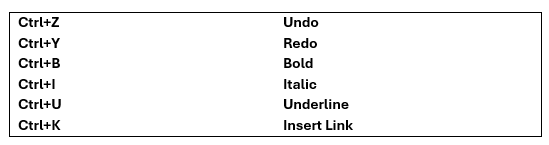
These tabs provide many additional functions for text customization. Below are explanations and examples for some icons:

To format text, you have two options. Either click on Format in the tab bar or on the according symbol in the toolbar (see screenshot Collapsed Toolbar of the TinyMCE-Text-Editor).

Bold Text

To make text bold, click on the B in the toolbar or the Format tab. Alternatively, you can use the shortcut CTRL + B.

Italic Text

To italicize text, click on the I in the toolbar or the Format tab. Alternatively, use the shortcut CTRL + I.

Adding a Heading

To add a heading, click on Format in the tab bar and choose your desired heading level under Paragraph styles.

Adding Bullet Points or Numbering

To add bullet points or numbering to your text, click on the respective icons in the toolbar (see screenshot: Expanded Toolbar of the TinyMCE Text Editor).

You can choose between numbered lists and bulleted lists.

You can add an audio or video file by clicking on Record audio/video in the toolbar (see screenshot Collapsed Toolbar of the TinyMCE Text Editor).

To add an image, click Image in the toolbar.

The “Components for Learning” (C4L) icon allows you to insert ready-made blocks, like quotes or reminders, into your text, which can enhance readability and save time.

Please ensure that the size of the uploaded material does not exceed 100 MB (you can check the “Maximum upload size” in the course settings under “Files and uploads”).

Alternatively, you can insert multimedia content via the Insert tab.

Using the TinyMCE-Text-Editor, you can record and upload audio or video directly in the editor window. Start recording by clicking the corresponding icon in the toolbar (see screenshot “Collapsed Toolbar of the TinyMCE-Text-Editor) .

Start a Recording

After clicking Record audio, a small pop-up window opens with a Start recording button. The recording starts immediately, giving you 2 minutes to record.

End a Recording

To stop recording, click Stop recording. You can play back the recording in the editor window and re-record if needed. If satisfied, click Attach recording to embed it directly in the text field of the editor (see screenshot ”Attach Recording").

Attach Recording
Attach Recording

Note: To start a recording, ensure your recording devices are correctly connected and configured. Otherwise, a missing input device error will appear. Also note, that recording audio/video through the editor is only possible in a browser, not in the Moodle app. Each recording is limited to two minutes.

The audio and video recording functionality in the TinyMCE editor can also be used as a submission format for Moodle assignments. For more details on setting up assignments in Moodle, see our FAQ-article on the Assignment Activity . For audio and video submissions, the Online Text submission type is recommended.

To add an H5P learning object using the TinyMCE-Text-Editor, click on the H5P icon in the toolbar. Then, click Browse Repositories… and select the desired H5P content from the H5P content library. For more details on H5P learning objects, click on H5P.

With the Panopto button, you can embed videos from Panopto directly via the TinyMCE text editor. This is especially useful when you want to display videos directly within texts, assignments or other resources that use the TinyMCE text editor.

For more information on providing Panopto videos, see the following article Use own Video Ressources (Panopto) .

The TinyMCE editor includes an equation editor to insert mathematical formulas. Click the calculator icon on the expanded toolbar (see screenshot Expanded Toolbar of the TinyMCE-Text-Editor), which opens a window with various options for integrating mathematical elements into the text.

The top section contains mathematical symbols like operators, arrows, Greek symbols, and formulas. Clicking on one inserts it into the Equation preview below.

If you're familiar with TeX , you can edit the notation in the middle section.

The Equation preview displays the selected expressions and the arrow indicates where the next element will be inserted.

Equation Editor
Equation Editor

The TinyMCE-Text-Editor also has shortcuts to help you edit text directly from the keyboard. The table alongside provides an overview.

Shortcut Table for the TinyMCE-Text-Editor

If you want to add tables to your text, the TinyMCE editor allows this as well.

Using the Table tab, you can insert a table with a chosen number of rows and columns. After inserting, click on the table and select the Table properties icon to adjust settings such as border width, color, style and add a caption.

You can also modify individual cells, rows or columns. Place the cursor in the desired cell, row or column and select the desired action from the Table tab.

Coloring Text

To add color to a text, click on the underlined A (Text foreground color) or the highlighter (Text background color) in the toolbar, allowing you to set both text and background color.

Accessibility Check

To ensure that your text is accessible, TinyMCE offers an accessibility ckecker that assesses the color contrast between text and background and possibly returns an error message. To run this test, go to the Tools tab and click on Accessibility checker.

Expand the Text Window

If the text window feels to small, you can open the fullscreen mode by going to View and click on Fullscreen. To exit, follow the same steps.

Note: Switching to Atto-Text-Editor

If preferred, you can switch to the default editor in previous Moodle version, the Atto-Text-Editor. To do this, click your profile picture and go to Preferences > Editor preferences and select the “Atto HTML editor” in the dropdown menu.