Screen Recordings (Screencasts)

During a screencast, the recording captures the picture of the screen in a video, respectively the pen-tablet, and the spoken audio. Optionally, the speaking person can be recorded by video too. Screencasts are relatively easy to produce and are therefore easily created by the lecturers themselves.

Screencasts are ideal for …

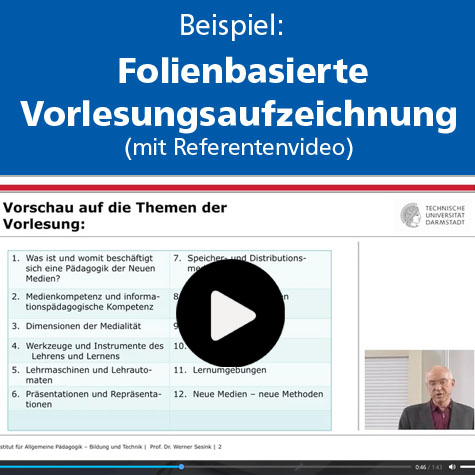
  • Slide-based presentations/ teaching inputs (standard lecture recordings, educational videos for online learning)
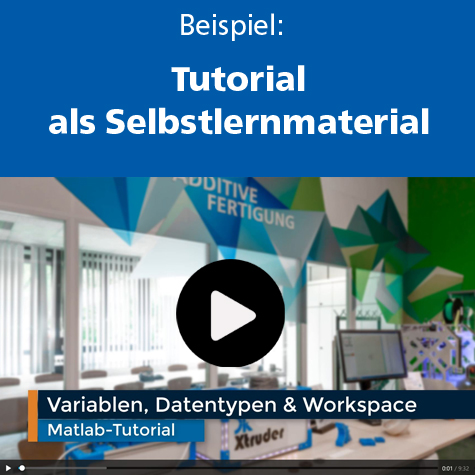
  • Tutorials, during which the applications/ programs on the computer screen are shown and explained
  • Content that is written by hand on a tablet-interface and used for explanations (for example calculations and sketches)
  • Feedback that is given to the students on their course work in an online environment (for example by written annotations on the handed-in course work which is then explained)

Recommendations for the didactic design and embedding in the learning environment

More Screencast Software

Suitable for easy recordings without the need for elaborate post-production.

  • Easy recording software with few post-production capabilities
  • Suitable for easy screencasts without any additional video material
  • Software-product of the company “TechSmith” (also made Camtasia)

Tutorial site for Snagit
Short screencast for using Snagit (in German) (3:14 min), created by the e-learning group

If you want a Snagit license, contact the recording team at:

https://studio.opencast.org/

  • Browser-based recording program that does not require the installation of software
  • Recording of the screen and a webcam is possible
  • No post-production capabilities
  • Download of the screen recording and the webcam video as separate MKV-files (Google Chrome) or WebM-video files (Firefox) > may require file conversion (for example with Handbrake – conversion tool)

Also suitable for student tasks (if they need to create a video)

  • Own system-integrated screen recording feature of Apple devices without post-production capabilities (Possible via the editing software iMovie)
  • Saves the recordings as MP4-files

Instruction for the recording of a mac-screen
Instruction for the screen recordings on an iPhone, iPad or iPod touch

PowerPoint offers two possibilities for the recording of presentations:

  • Include audio commentary with the PowerPoint slides (Function “Record Slide Show”)
  • Create a screen recording (Function “Screen Recording”) that does not only record the slides but also, like for a screencast usual, all the other applications on the screen

Instructions about both recording possibilities in PowerPoint (in German) by the Justus-Liebig University Gießen.

Note: Pay attention to the following aspects if you use the variant with the “Record Slide Show” function:

  • MAC users may not be able to access the files in their saved format
  • Therefore, export your files in an MP4 format. This is a universally accessible video format that can be accessed on all operating systems by various video players

Detailed video instruction for the PowerPoint function “Screen Recording” (in German) (here for MAC) from the virtual campus Rheinland-Pfalz (VCRP)

With the web conference system Zoom which is used for online meetings for teaching, it is also possible to basically record your screen.

However, we cannot completely recommend this function for the pre-production of lecture recordings that you record in your office to later show to your students for the following reasons:

  • The video quality may not be sufficient if you have a weak internet connection (Resolution may go as low as 360p)
  • High bitrate (1,5 Mbit/sec) – creates great file sizes
  • Bad audio quality (50 kbit/sec)

We can only recommend this recording function as a backup of a live session if your students cannot attend the online meeting for technical or organisational reasons.
Note: To do this, you will need the consent of all participants!

Tip: Combined use of software products

  • If you plan to use different devices for the recording of your course or if multiple people are involved, a combined use of a screencast software for the recording (for example Snagit or OpenCast Studio) and Camtasia for the post-production is advisable.
  • For hand-written notes on a tablet, you can use the software SmoothDraw. It's free of charge.
    SmoothDraw videotutorial (in German)– 1:52 min
    Another alternative is “OneNote” if you already use the Microsoft Office package.
    You can run one of the screencast applications (Snagit, OpenCast or Camtasia) parallel.

Technical equipment required

  • Computer: Depends on what is recorded with which software and whether any additional videos should be included
    • Generally, any computer/ laptop should be capable for recording of a pure slide-based presentation
    • If you plan to use Camtasia (computing-intensive program) you should check whether your computer meets the system requirements given by developer
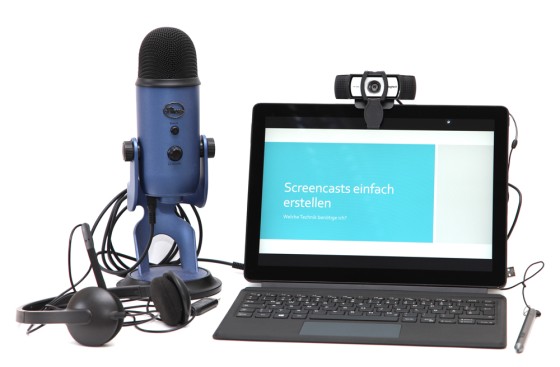
  • Audio setup: USB microphone (for example Blue Yeti Studio Blackout), alternatively: USB headset (for example Logitech H340)
  • Optional USB webcam (for example Logitech C930e)

  • If you want to do digital hand-written notes but you do not own a tablet PC, you can convert your computer/ laptop into one by using a pen-tablet via bluetooth (for example a Wacom Intuos Pro M).
  • Use the media device lending service at the HRZ Service counters. Alternatively, technical equipment can be bought through the HRZ IT-Shop at short notice
  • An overview of the requirements of the recording equipment like they are used by the recording team during lecture recordings can be found at the Moodle course “Videos in higher education teaching”
USB headset, microphone, webcam and tablet computer

Services

Support and assistance from the Recording Team:

We also offer initial support with lecture recordings in the lecture hall if you produce them yourself or have them done by your student assistants.