


- The concept should be the first step – see Recommendations for the didactic design of educational videos
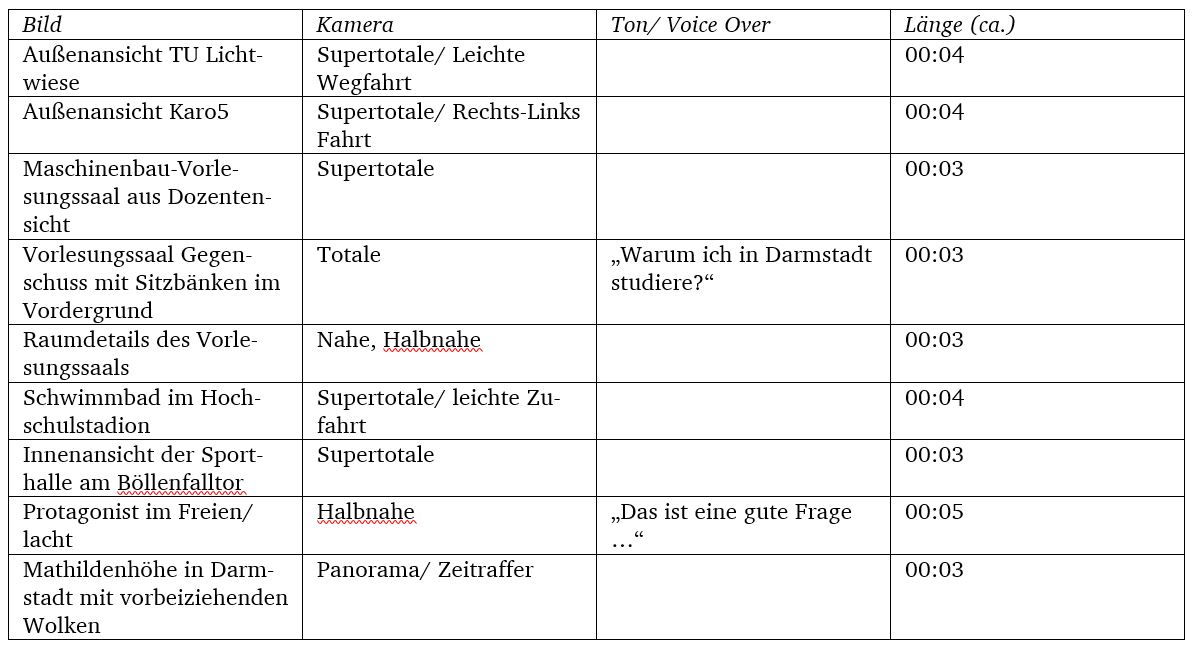
- Create a script (what should be shown/explained?)
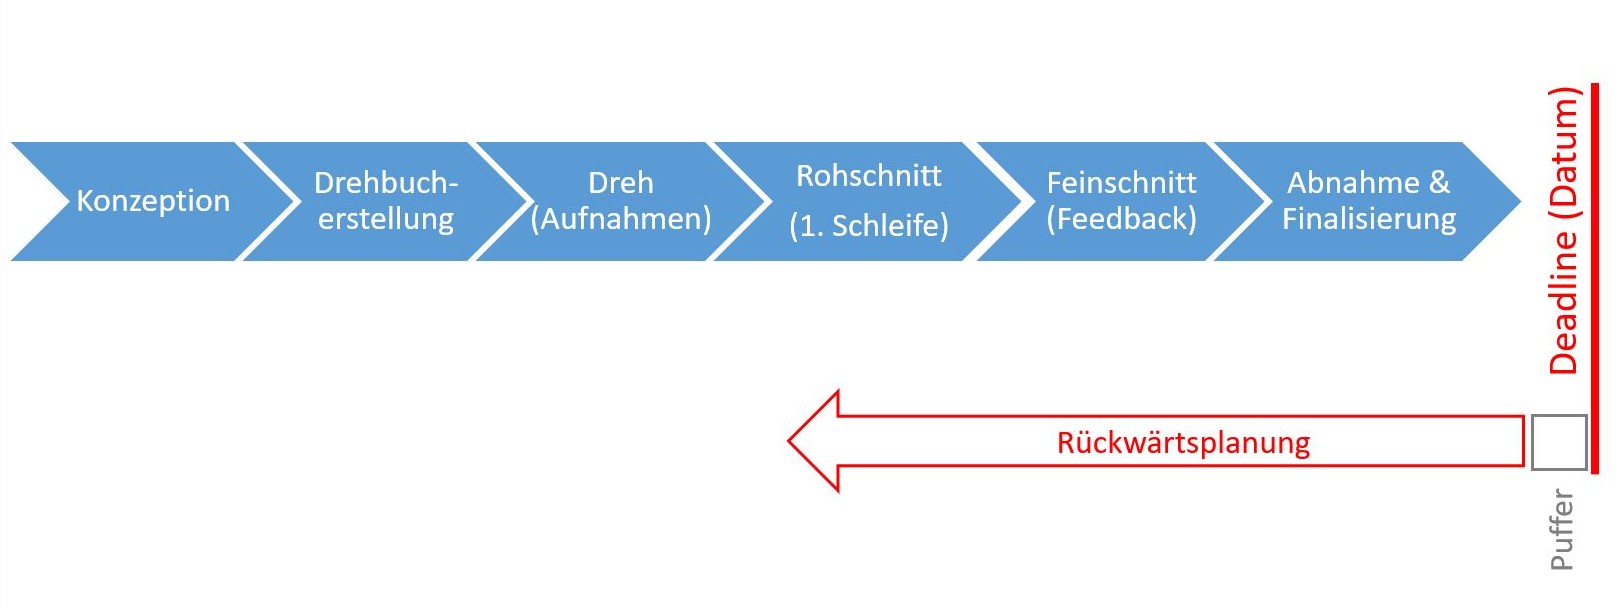
- Draw up a shooting schedule (timetable), especially for classical video production with a camera.
- Set up and organise the production technology
- Find suitable locations (plenty of light, little noise)
E-Learning Arbeitsgruppe (HDA & HRZ)

Recordings & Videos
Overview of the technical implementation
When producing recordings and videos for teaching, you can get help and support from the recording team of the TU Darmstadt e-learning group. In the section below you will find information and tips on technical implementation as well as the different kind of services we offer. In addition to the technical aspects, do not forget the didactic design and a good contextualisation in your course.
Learn more about the didactic considerations for using videos in higher education teaching
Possibilities for using videos for different teaching purposes
Recordings or videos can be used in a variety of ways of teaching. We distinguish between:
- Standard lecture recordings, which serve to conserve and follow up lectures and to prepare for examinations.
- Educational videos (e.g. tutorials) produced to present or illustrate content in a condensed form.
- (External) videos can be used to motivate for a topic by arousing interest and curiosity (e.g. from research or everyday life).
- Video as a feedback tool, e.g. for presentations and exercises in order to be able to analyse your own performance.
- Video/ audio as a substitute for a presentation: Students can be instructed to create a video or a podcast (audio recording) to actively engage with certain content and, if necessary, prepare it for other students.
-
![Foto: Student sitzt vor Laptop, auf dem Screencast von Vorlesung zu sehen ist]()
![Foto: Student sitzt vor Laptop, auf dem Screencast von Vorlesung zu sehen ist]()
Screen Recordings (Screencasts)
Screen recording means: Everything that is shown on a screen (e.g. presentation) or on a tablet (e.g. notes, sketches) is recorded, as well as the audio that is spoken. Optionally, the person speaking is also recorded on an extra video. In this way, both standard lecture recordings and educational videos and tutorials for online teaching can be produced. Simple screen recordings can be produced by teachers themselves relatively quick and with little effort.
-
![Foto: Videokamera im Vordergrund, Mann im Hintergrund]()
![Foto: Videokamera im Vordergrund, Mann im Hintergrund]()
Classical video productions with camera
In classical video productions, video recordings are made with one or more HD camcorders. Video editing is usually necessary afterwards. Lecture recordings with blackboard writing in the lecture hall are made as classical video productions, as is the recording of experiments or complex processes. Video productions are usually more complex than screen recordings. Therefore the recording team offers to advise and support you!
-
![Foto: Ein Hand schreibt auf ein Blatt Papier unter der Überschrift "Wiederholung des Begriffs elektrischer Strom" mit einer schematischen Darstellung eines elektrischen Stromkreises.]()
![Foto: Ein Hand schreibt auf ein Blatt Papier unter der Überschrift "Wiederholung des Begriffs elektrischer Strom" mit einer schematischen Darstellung eines elektrischen Stromkreises.]()
Video recordings made with the Visualizer (in German)
The Visualizer is a device with a powerful camera and correspondingly good optics, which is positioned above an illuminated writing surface. Printed presentation sheets can be shown and written on with pens and also objects such as technical components can be shown. The Visualizer is used for lecture recordings by some teachers from the department of Electrical Engineering and Information Technology – etit. Therefore, please directly contact the e-learning team of the department: e-learning@etit.tu-….
-
![Foto: Nahaufnahme Mikrofon]()
![Foto: Nahaufnahme Mikrofon]()
Audio Recordings
The simplest form of recording a content input, a lecture or other explanations is audio recording – either as a pure audio recording, as an audio commentary on a PDF script or in the form of audio added to PowerPoint slides. Also conceivable is the (student) production of a podcast or the production of an audio guide, as well as audio recordings as a feedback tool. Audio recordings are relatively easy to produce.
Tips for producing videos & recordings
We would like to share the following technical and organisational tips for producing lecture recordings and educational videos.
Further suggestions & tips
For a didactical design of educational videos and their embedding in the learning environment
Video platform Panopto at the TU Darmstadt
Panopto is used for video management and provision. The connection to the Moodle learning platform allows videos stored on Panopto to be easily made available in a Moodle course with TU-ID protection. The videos can also be published anywhere else on the web via a public link.
Integrated recorders also make it very easy to record screencast videos. The platform can also be used for live streams.
The Panopto video player offers a number of helpful functions for learning with videos, such as searchability, setting subtitles and note and comment functions.
Services
Support and assistance from the Recording Team: aufzeichnungen@tu-…
We also offer initial support with lecture recordings in the lecture hall if you produce them yourself or get them done by your student assistants.
Picture: Original: Rivage, unsplash.com | Source
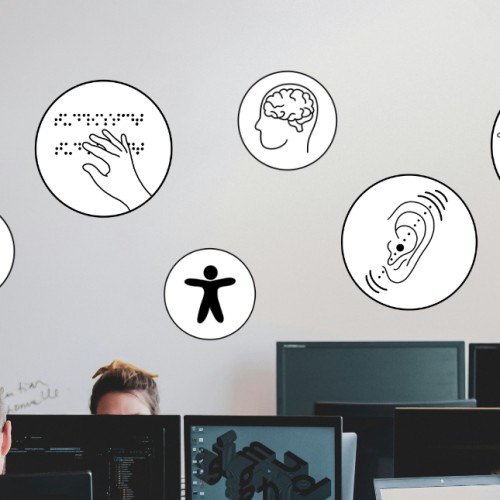
Thinking about accessibility
Videos can be a barrier for people with visual and auditory impairments. Especially when videos are used as the exclusive medium for conveying content, care should be taken to ensure that the videos are as accessible as possible.
Contact
Recording Team
Picture: E-Learning AG
aufzeichnungen@tu-...
work +49 6151 16-76654
Work
Hochschulstraße 1
64289
Darmstadt