Creating a Glossary

A glossary is a list of words with their corresponding definitions. Glossaries are useful for helping students find definitions for specific terms.

With this activity, students can independently create a dictionary with explanations. Teachers can review and approve the entries. Alternatively, the glossary can be created by the lecturers for the students.

To add a glossary to your Moodle course, first, set your course to editing mode by turning on the “Edit mode” toggle on the top right.

Next, click on “Add an activity or resource” and select “Glossary”.

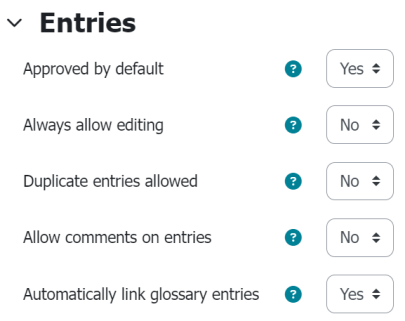
Entries
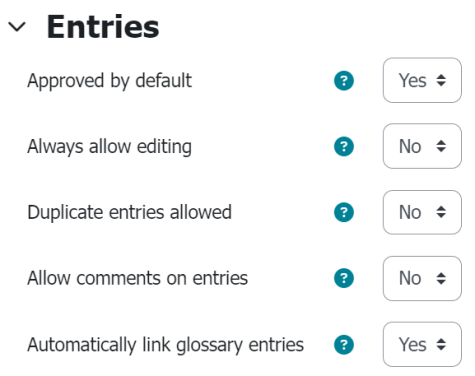
Entries

In the next step, you need to give the glossary a name and can optionally provide a description.

The glossary type is set to “secondary glossary” by default. This type is sufficient for regular use and can be left as is.

You have additional options under the “Entries” section.

  • With the “Approved by default” option, entries are immediately visible without being checked before by lecturers.
  • The “Always allow editing” option allows students to edit their entries later.
  • With “Duplicate entries allowed”, there can multiple entries for the same term in the glossary.
  • Allow comments on entries” enables participants to comment on entries. As a lecturer, you can also comment on specific entries in a glossary. These comments will be visible to everyone.
  • Automatically link glossary entries” is active by default and ensures automatic linking of all glossary entries with provided text in the Moodle course.

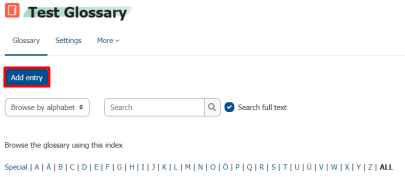
To add terms (entries) to your glossary, click on Add entry. Define the term and its corresponding definition. You can also add files to your term and make further setting regarding Auto-linking.

Finally, click on Save changes to apply all changes and add the term to the glossary.

Now, all your terms in your texts will link to the corresponding glossary entry with the newly added term.