
Creating a Choice
The choice activity allows teachers to ask students a question and provide various possible answers.
Adding the choice activity to the course
To add a choice to your course, switch your course to edit mode using the slider at the top right and then select “Add an activity or resource”.
You can select the “Choice” activity in the following menu. You must now enter a name for the choice. Optionally, you can also add a description.
Setting up a choice activity
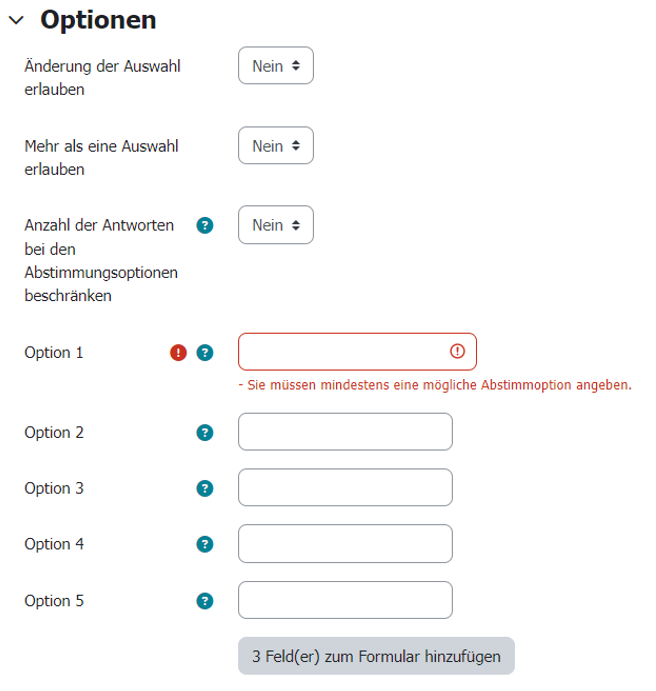
To set up the choice, you must specify at least one “option” or selection that participants can make (see screenshot “Provide options”).
The following settings can be made:
- Display mode for the options
Listing of the answer option in horizontal or vertical form.
- Allow choice to be updated
Here you can set whether students are allowed to change the submitted answer. This option is independent of the availability of the activity.
- Allow more than one choice to be selected
Students can be allowed to select more than one answer.
- Limit the number of responses allowed
The absolute number of choices for certain answer options can be limited. These upper limits can optionally be displayed to the students.
Results of the choice activity
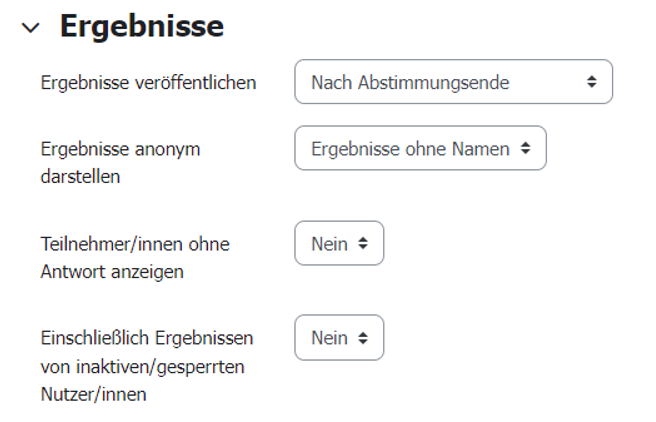
Under the “Results” menu item, various settings can be made to display the results of the choice activity.
- Publish results
Here you can set whether the results are displayed for the students in the course room. Optionally with names or anonymously.
- Other settings
The option “Show column for unanswered” can be used to set whether choices that have not been given are also listed in the results display.
The option “Include responses from inactive/suspended users” is generally not relevant for course scenarios at TU Darmstadt.