Course backup and recovery

You can create a backup of your course to restore it elsewhere or to save a specific version of the course.

Note: If you would like to transfer individual activities of a course to another existing course, we recommend using “Import” instead of “Restore”. Import“ instead of ”Restore“ . The reason for this is that a backup file is used during the restore, which means that course content in the recipient course can be overwritten. A restore is particularly useful if you want to restore a specific stage during the editing of a course or transfer the course to another Moodle system. Please note that no user-related data is backed up. For content with user-related data, such as the forum, glossary and wiki, use the Block “Sharing Cart” .

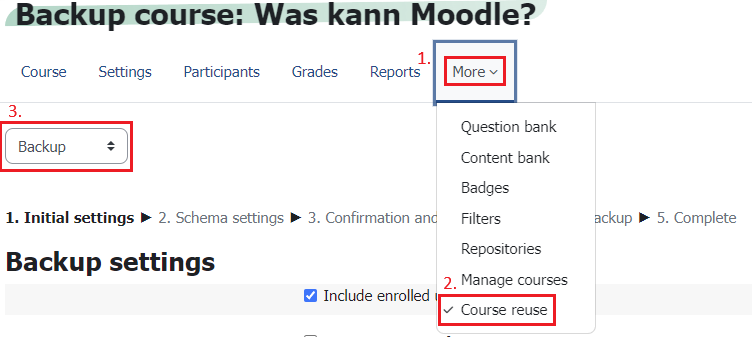
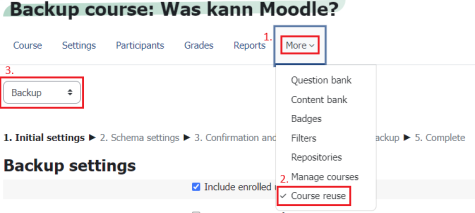
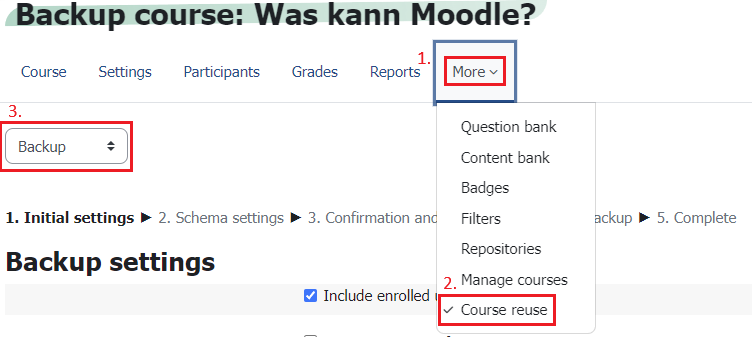
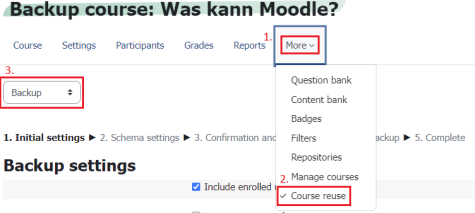
A course can be completely or partially backed up by backing up the course. We recommend making a course backup at the end of the semester for your own archiving purposes. To create a course backup, first navigate to “More” > “Course reuse”. The import overview is displayed here. You can switch to “Backup” via the drop-down menu (see screenshot “Backup settings”).

Backup settings
Backup settings

In the backup settings, you can specify which content categories, e.g. only “Include activities”, should be backed up, similar to the import. By default, all elements are selected except those that contain user-related data.

Clicking on “Next” takes you to an overview where you can select which content from the course you want to include in the backup. The default setting is all content, but without user-related data, such as forum entries. You can exclude individual elements by removing ticks from the checkboxes. Click on “Next”.

You will now see an overview of all content that will be backed up. Start the backup process by clicking on “Perform backup”. The course will now be backed up. You can continue to edit the course during the backup process or wait until the backup process is complete. You will then find the backup file under “More” > Course reuse > “Restore” in the drop-down menu. You can download this *.mbz backup file for your own archiving. In this way, you can, for example, save the respective version status with each backup during a complex Moodle course design process and restore it if necessary.

Download or restore backup file

Once a course backup has been created, it can be imported into a Moodle course. Please note that existing content in the target course may be overwritten.

The backup file of a course can be downloaded as an .mbz file via “More” > “Course reuse” > “Restore” or restored directly. To download, click on “Download” next to the desired backup file. This can now also be imported into the same or another course via “More” > “Course reuse” > “Restore”.

To do this, drag and drop the downloaded file into the field provided in the “Import backup file” section, select the file manually via “Select file …” or click on “Restore” next to the corresponding backup file. Then click on “Restore”. You will then be shown an overview of the backup, which you can confirm by clicking “Next”. Next, you must select your destination course.

Here you select which course sections are to be restored and whether course settings such as course name, course short name and course start date are to be overwritten. Click on the “Next” button. Then check your entries and start the restore process by clicking the “Execute restore” button. Once the process is complete, click on “Next” to complete the course restoration.

Backup files
Backup files
Download or restore backup file