Using groups

Participants can be divided into different groups within a Moodle course. This allows activities such as a forum for “visible groups” and “separate groups” (content of other groups cannot be viewed) to be used.

Groups in general

You can use groups to subdivide the participants in your course. For example, it is possible to ensure that posts in the forum are only visible to members of your own group. Groups are also often used in conjunction with wikis so that a group can develop documents together.

Further information on the topic of groups:

Creating groups

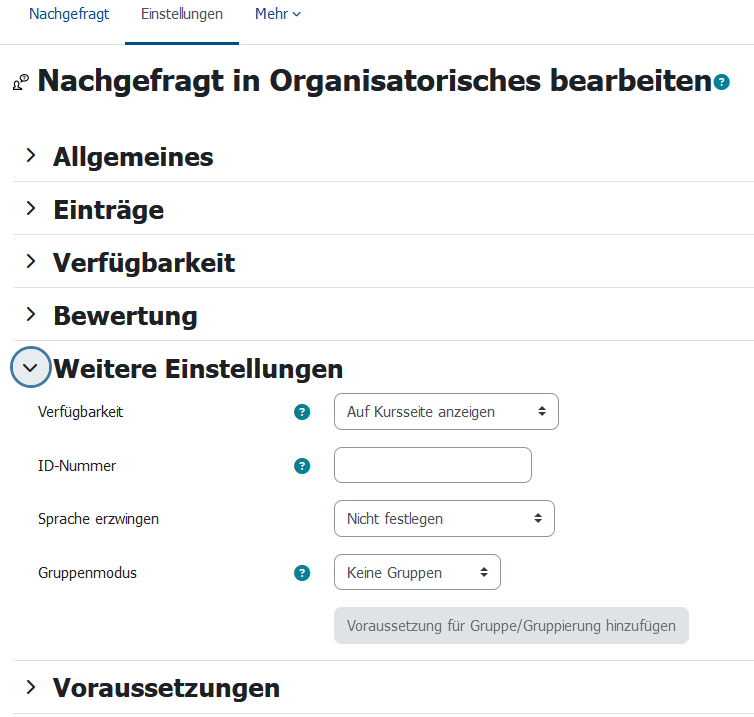
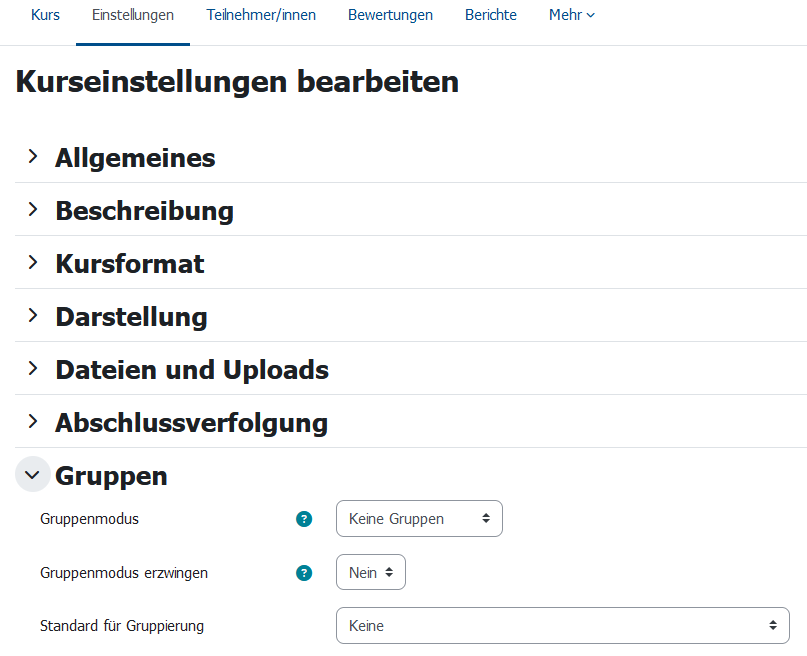
You have various options for organising groups. You can create groups in the “Groups” menu via the participants menu in the course navigation above.

Participants -> Groups (select in the drop-down menu, Enrolled users will be displayed first) -> Create groups

You can find more information on this in the MoodleDocs under Create and edit groups manually. To use automatically generated groups, use the “Auto-create groups” button.

You can add the participants in your course to the groups manually. Or you can use the “Group choice” activity so that participants can add themselves to the groups.

To create the “Group choice” activity, first switch to edit mode using the slider at the top right and then click on “Add an activity or resource” in the desired location and select “Group choice”. With this activity, the group selection can be delegated directly to the students. Teachers define the number, name and maximum size of the groups and add the “Group choice” activity to the course. This allows students to register themselves in the existing groups.

Group choice works on a first-come, first-served basis.

In addition to the familiar setting options, the activity itself has a few special features, which are briefly described here:

  • Miscellaneous settings:
    • Publish results: This function offers the possibility to publish the results of the group choice and to choose the time of this publication.
    • Privacy of results: Anonymity: Here you can select whether the results should be displayed anonymously or whether the results including name and group should be visible. Discuss with your students whether a public display of the name and selected group is fine for everyone.
    • Allow choice to be updated: This function is set to “no” by default. Once a choice has been made, it is final. Otherwise, participants can sign in and out as often as they like.
    • Show column for unanswered: Inserts a column in the overview for participants without a group.
    • Limit the number of responses allowed:This function allows you to limit the group size. As soon as the limit is reached, no one can register for the group.
    • General limitation:If the upper limit is activated, the number (= maximum group size) is defined here.
  • Groups: Here is where you specify which groups participants can choose from.
  • Restrict answering to this time period: Here you can set the period in which the choice should take place.

The group mode can be set to “Visible groups” and “Separate groups”. In the first case, participants can read the content of other groups but cannot write anything themselves. In the second case, the groups are completely separated.

You can set the group mode for individual activities in edit mode (Edit slider top right). To do this, click on the three dots of the respective activity and select Edit settings. You can then specify the group mode under “Common module settings”. 

Set the group mode under “Common module settings” for an activity (here the example activity “Hot Question”)

The group mode can also be set at overall course level via the settings in the navigation bar above. Under “Groups”, you can now select the group mode and also set whether the group mode can be selected separately for individual activities. 

Group mode in the course settings