Question Type “Drag & Drop Markers”
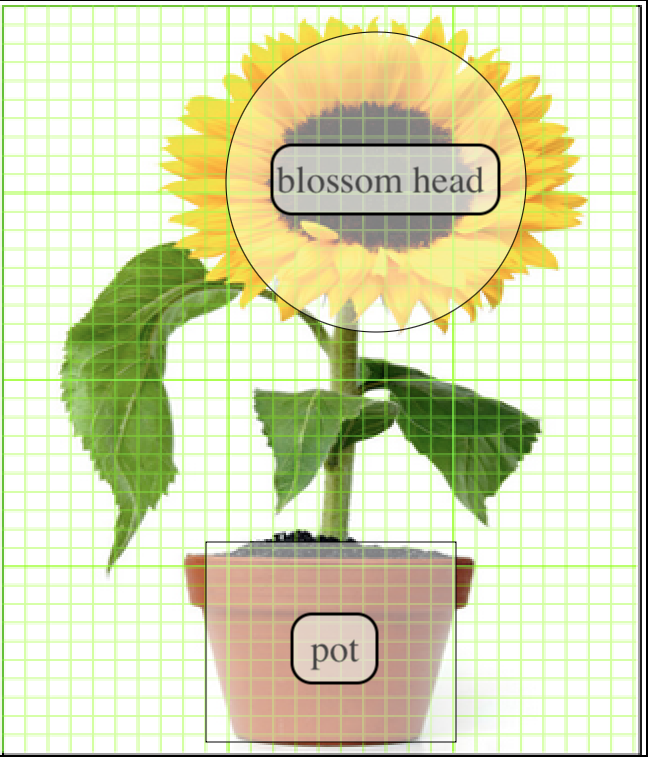
In the following, we would like to briefly introduce the “Drag & Drop Markers” question type and explain it with a small example. This question type allows terms to be assigned to specific areas in a diagram. Participants must drag these terms to the correct location. This can be done in a very detailed manner by tightly restricting the drop zones. The target areas are not outlined with a box.
Creating a Question
To create a new question, you can find your “Question Bank” in your course by selecting the “More” tab in the top navigation bar. Within the “Question Bank”, you can edit your question bank and click on “Create a new question…” to add new questions. Now, you can choose the respective question type from the menu. We will select “Drag-and-drop markers”. When creating the question, some important settings need to be configured:
First, you can select the “Category” of the question, which allows you to assign this question to one of your courses or organize it by course.
The “Question Name” must be provided and should be descriptive so that you can easily find your question later in the overview.
In the “Question Text” section, you must specify your task or instructions.
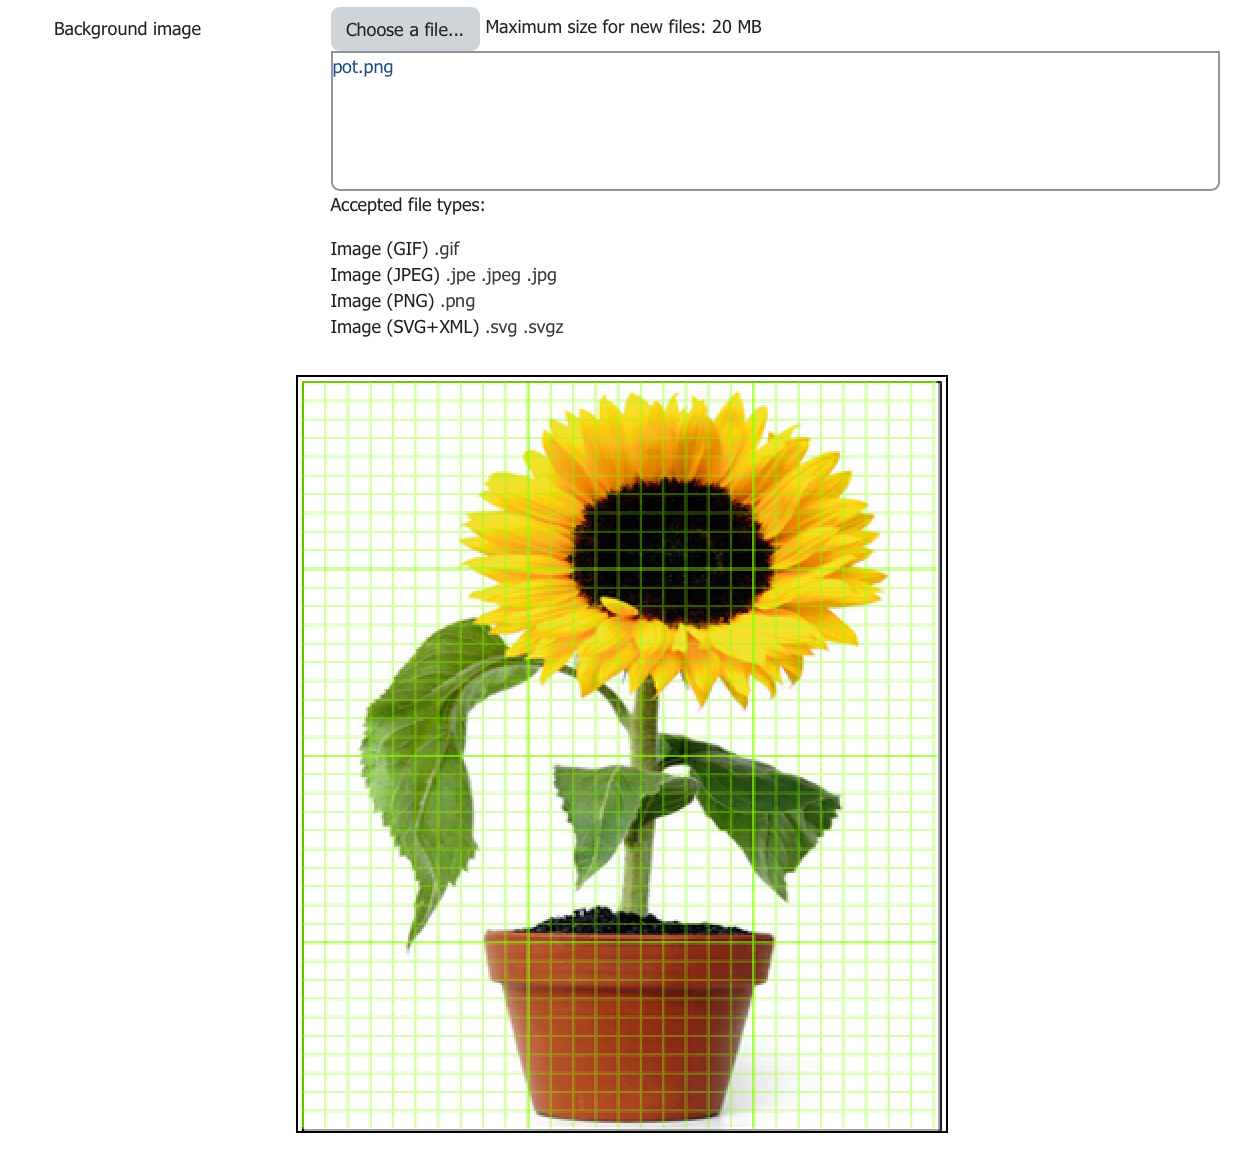
Under “Background Image”, you need to upload an image where you will later define the areas where students can drag and drop their predefined answers (see image “Background Image”).
Next, you should edit the “Markers” tab, where you can create and categorize the draggable objects. By selecting “infinite”, you can use the object multiple times without having to create it more than once.
Drop Zones

Lastly, the drop zones must be defined. To do this, first select a shape (circle, rectangle, or polygon), which will then be added to the top left in the preview. It can be useful to minimize the “Markers” section so that you can see the preview while editing the drop zones.
Editing a shape begins with a click on the shape in the preview to display the editing handles. You can move the shape or adjust its dimensions using the control points. The three shapes use the coordinates in the following way:
- Circle: center_x, center_y; radius
e.g.: 80, 100; 50 - Rectangle: top_left_x, top_left_y; width, height
e.g.: 20, 60; 80, 40 - Polygon: x1, y1; x2, y2; … xn, yn
e.g.: 20, 60; 100, 60; 20, 100
Alternatively, you can also enter the coordinates directly in the corresponding field.